.png)
Primo Browser Proxy Integration Tutorial

What is Primo Browser?
- Individual Tab Privacy: Ensures each tab has its own distinct fingerprint and IP address, protecting your browsing activity.
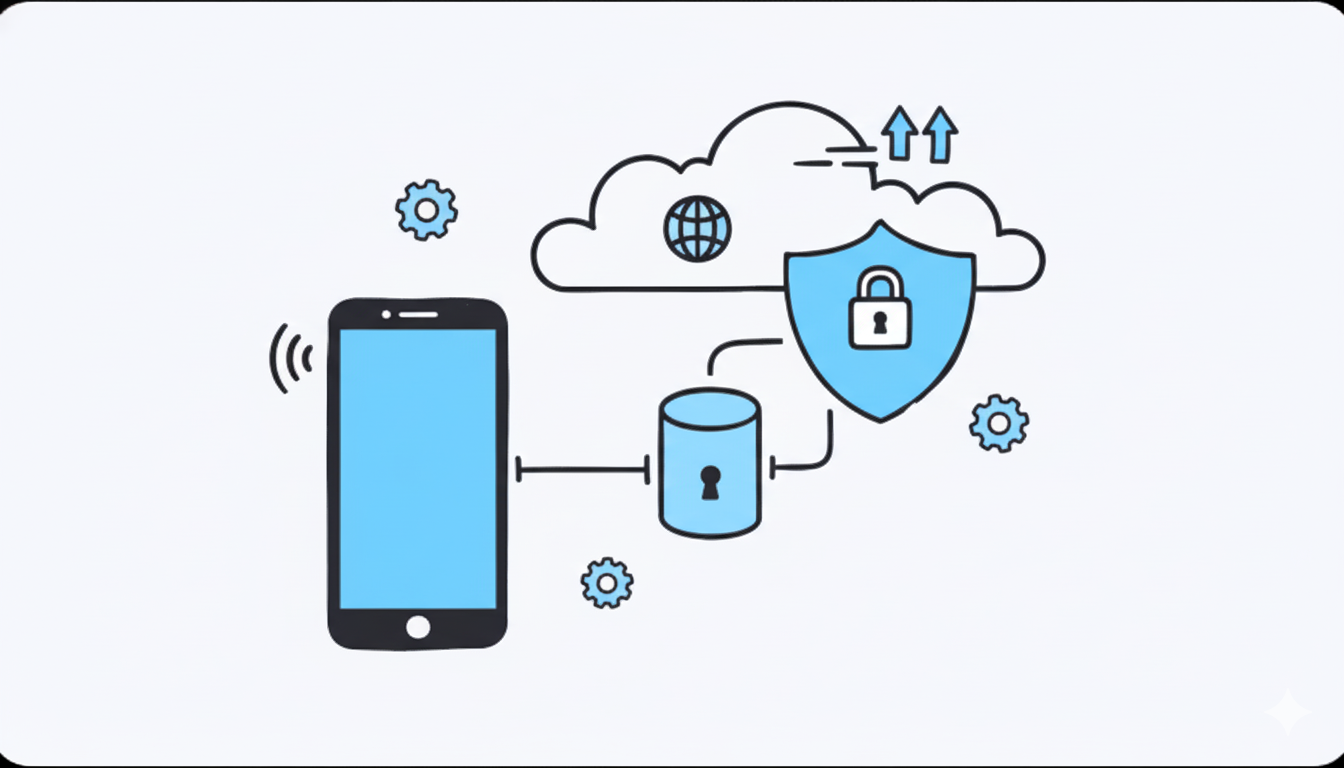
- Proxy Integration: Allows for the use of proxy servers, providing each tab with its own IP address for added security and anonymity.
- Enhanced Functionality: Integrating SimplyNode's proxies maximizes the browser’s features, enhancing both security and privacy.
Step-by-step instruction
- Log in to the administrator panel at https://primoadmin.com/admin/login and download the file appropriate for your operating system.
- After the download is complete, run the installer. Primo Browser will automatically open after installation is complete on Windows. If it doesn’t start automatically, double-click the “Primo Browser” icon on your desktop to launch it. For Mac, move “Primo Browser.app” to the “Applications” folder, then open the “Applications” folder and double-click the “Primo Browser” icon to launch it.
- Upon launching Primo Browser, enter your credentials on the login screen to continue.
- Load SimplyNode proxies into Primo Browser by preparing a working batch of proxies saved in a CSV file. If needed, contact hello@primobrowser.com for help with reformatting your proxy file for upload.
- Follow the detailed instructions below this article to load SimplyNode proxies into Primo Browser. After activation, open two or more tabs (CTRL + T) and visit www.browserleaks.com/ip to verify that each tab uses a different IP address, confirming that the proxy is working.
Help with SimplyNode proxy configuration
There are various proxy types so when integrating SimplyNode proxies, choose HTTP or SOCKS5 protocol.
This is an example of a proxy string for a browser:
LOGIN:wifi;@proxy.simplynode.io:9000
Step 1: Hostname Configuration
You need to copy the hostname/server address provided by SimplyNode.
Type proxy.simplynode.io into the host field
Step 2: Port number Configuration
SimplyNode offers you up to 1000 ports. The port number varies from 9000 to 18000.
Step 3: Username configuration
Insert the confidential SimplyNode proxy login.
Here you get the proxy username and password from the client portal.
Step 5: Proxy password
Insert the confidential SimplyNode proxy password.
You can find the password in your SimplyNode account. Proxy-type is the type of proxy you are using.
- wifi - rotating residential proxy;
- mobile - mobile residential proxy.
Country is the country whose IP addresses will be used for connection. You can select "Any", in which case any available country will be used, or specify the ISO code of a specific country from SimplyNode's list of available countries: e.g. jp (Japan), fr (France).
Example: wifi;fr;;;
If you have any further questions you can always contact SimplyNode Support Team.
Conclusion and Best Practices
In conclusion, Primo Browser is a powerful tool for managing multiple online identities and accounts. By uploading proxies and configuring settings, users can enhance online anonymity and provide a secure and private browsing experience. To get the most out of Primo Browser, users should follow best practices, such as regularly updating the browser and proxy software, using high-quality proxies, and troubleshooting issues promptly. By following these best practices, users can ensure that their online activities are secure and private, and that they can manage multiple accounts and identities with ease. Users can also visit the Primo Browser website to download the latest version, sign up for a free trial, and get additional information on using the browser and proxy services.


%20(91).png)
%20(90).png)
%20(90).png)
%20(89).png)
%20(88).png)
%20(87).png)
%20(86).png)
%20(85).png)
%20(84).png)
%20(83).png)
%20(82).png)
%20(81).png)
%20(80).png)
%20(79).png)
%20(78).png)
%20(77).png)
%20(76).png)
%20(75).png)
%20(74).png)
%20(73).png)
.png)
.png)
.png)
.png)
.png)
%20(72).png)
%20(70).png)
%20(68).png)
%20(66).png)
%20(64).png)
%20(63).png)
%20(62).png)
%20(60).png)
%20(59).png)
%20(58).png)
%20(57).png)
%20(52).png)
%20(51).png)
%20(49).png)
%20(48).png)
%20(46).png)
%20(45).png)
%20(44).png)
%20(43).png)
%20(42).png)
%20(41).png)
%20(40).png)
%20(37).png)
%20(36).png)
%20(35).png)
%20(33).png)
%20(32).png)
%20(30).png)
%20(29).png)
%20(27).png)
%20(26).png)
%20(25).png)
%20(24).png)
%20(22).png)
%20(21).png)
%20(20).png)
%20(19).png)
%20(18).png)
.svg)
%20(17).png)
%20(16).png)
%20(15).png)
%20(14).png)
%20(11).png)
%20(10).png)
%20(9).png)

%20(7).png)
%20(6).png)
%20(5).png)
%20(4).png)
%20(3).png)
%20(2).png)
.png)
.png)
%20(1).png)
.png)
.png)
.png)
.png)
.png)
.png)
.png)
.png)
.png)
.png)
.png)
.png)
.png)
.png)
.png)
.png)
.png)
.png)
.png)
